Build a Recipe App With Node.js & PostgreSQL - Create Recipe Part 4
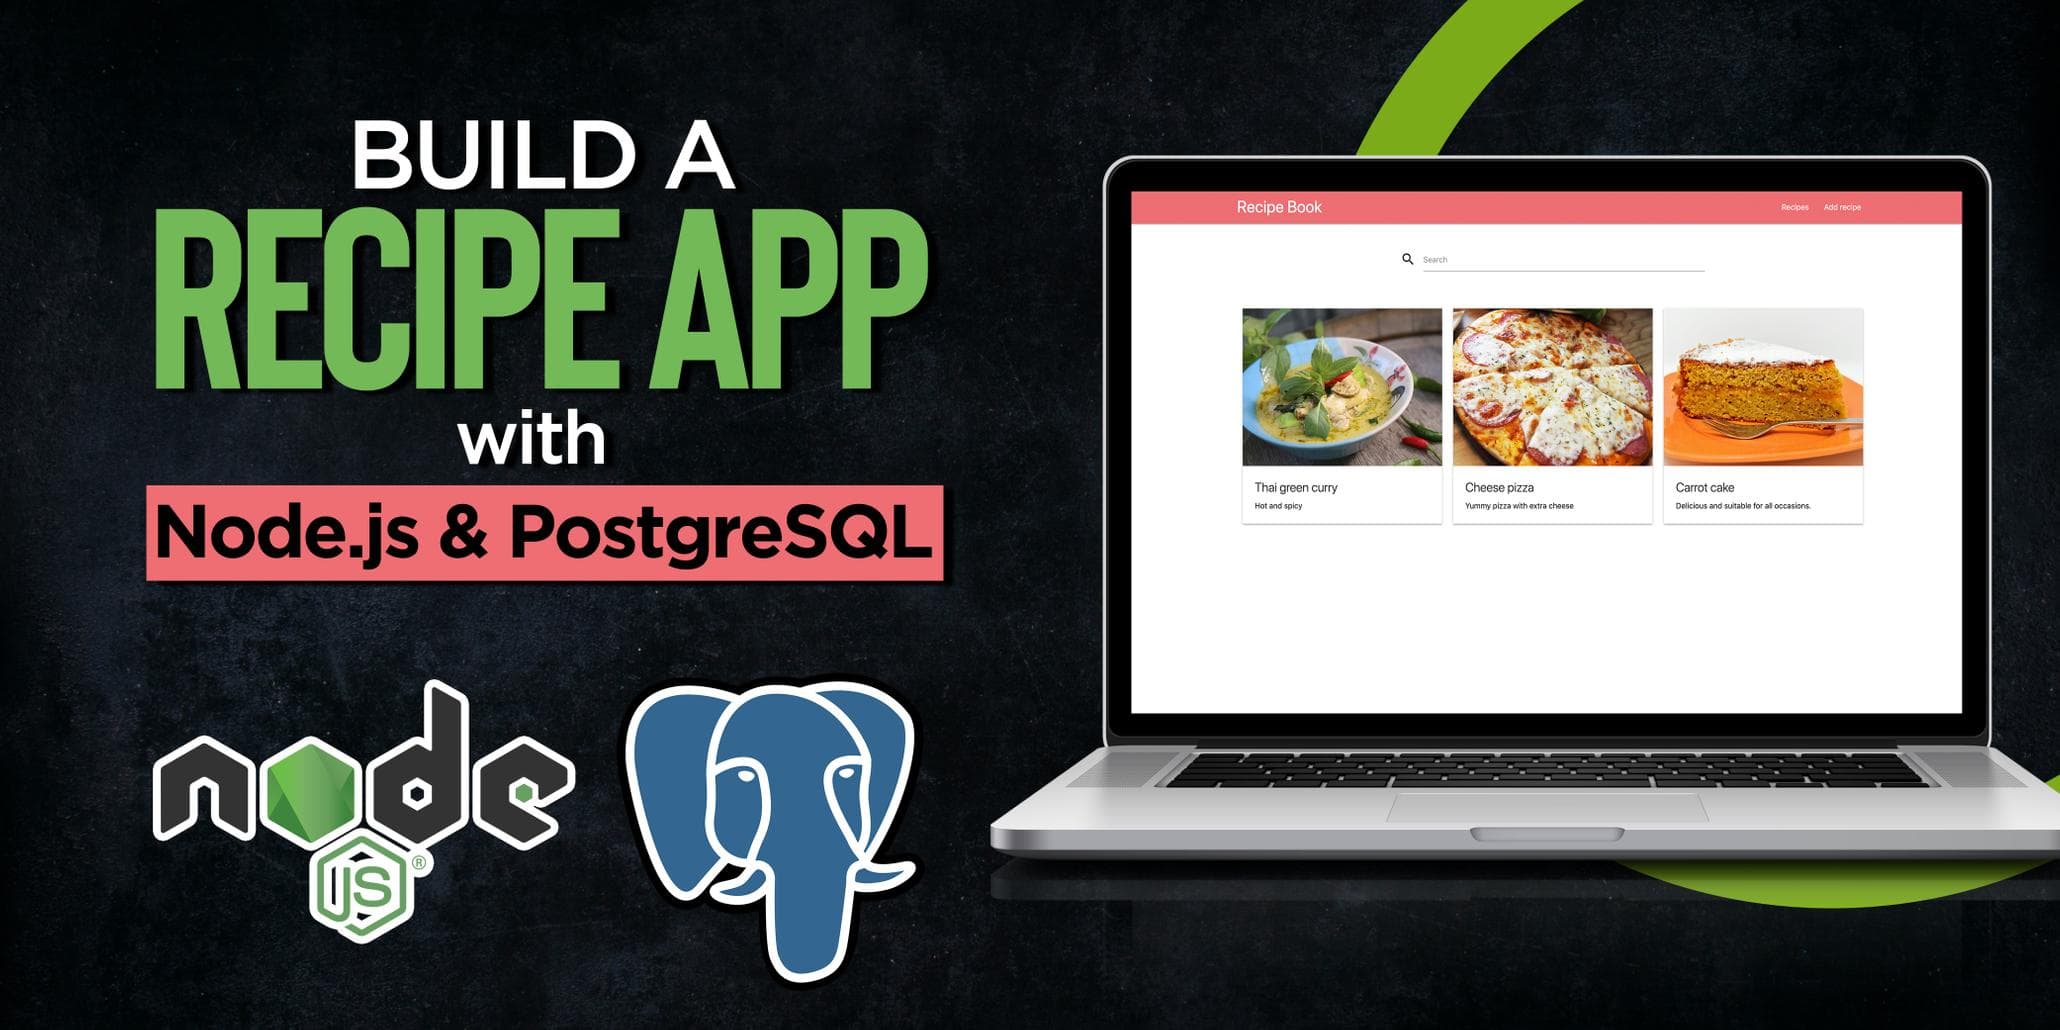
This is the fourth part of the Build a Recipe App With Node.js & PostgreSQL series. In this part, we will be implementing the code to create new recipes.
Parts
- Part 1 - Introduction & setup
- Part 2 - List & search recipes
- Part 3 - View recipe
- Part 4 - Create recipe
- Part 5 - Edit & delete recipe
Adding database queries
Open up queries.js and add the following code.
Insert ingredients
async function insertIngredients(ingredients) {
  const lowerCaseIngredients = ingredients.map((i) => i.toLowerCase());
  const query = await db.query(
    'INSERT INTO ingredient (name) SELECT * FROM UNNEST ($1::text[]) ON CONFLICT DO NOTHING;',
    [lowerCaseIngredients]
  );

  return query;
}
First we map over all ingredients and convert them to lowercase to make sure we don't store the same name with different casings for example tomato and Tomato.
By using UNNEST we can pass an array of ingredients and insert all of them at the same time. It will expand the array into rows.
We use ON CONFLICT DO NOTHING to ignore duplicate errors. When we setup the database in part 1 we specified ingredient names have to be unique.
Insert Recipe
async function insertRecipe(name, description, instructions, image) {
  const query = await db.query(
    'INSERT INTO recipe (name, description, instructions, image) VALUES ($1, $2, $3, $4) RETURNING *',
    [name, description, instructions, image]
  );

  return query.rows[0];
}
Here we insert a recipe and pass all the arguments needed. Image will be a string of the path where it's stored and not the actual file.
Get recipe ingredients
async function getIngredients(names) {
  const query = await db.query('SELECT * FROM ingredient WHERE name = ANY($1::text[])', [names]);

  return query.rows;
}
This will retrieve all ingredients by name. BY using ANY we can pass an array with names we want to match against.
Get all measures
async function getAllMeasures() {
  const query = await db.query('select * from measure');

  return query.rows;
}
This will retrieve all Measures.
Insert Recipe ingredients
async function insertRecipeIngredients(recipeIds, ingredientsIds, measuresIds, amounts) {
  measuresIds = measuresIds.map((m) => m || null);
  const query = await db.query(
    'INSERT INTO recipe_ingredient (recipe_id, ingredient_id, measure_id, amount) SELECT * FROM UNNEST ($1::int[], $2::int[], $3::int[], $4::int[])',
    [recipeIds, ingredientsIds, measuresIds, amounts]
  );

  return query;
}
To connect our recipe with correct ingredients and measurements we will be inserting our ids and correct amount of measurement into recipe_ingredient table.
Don't forget to export them at the end.
module.exports = {
  getAllRecipes,
  getAllMeasures,
  getOneRecipe,
  insertRecipe,
  insertIngredients,
  getIngredients,
  insertRecipeIngredients
};
Adding create recipe route
Add a new route in app.js with the following code.
app.post('/recipes', upload.single('image'), async (req, res) => {
  const { ingredients, measures, amounts, name, description, instructions } = req.body;
  await queries.insertIngredients(ingredients);
  const allIngredients = await queries.getIngredients(ingredients);

  const recipe = await queries.insertRecipe(
    name,
    description,
    instructions,
    req.file.filename
  );

  await queries.insertRecipeIngredients(
    new Array(ingredients.length).fill(recipe.id),
    allIngredients.map((ingredient) => ingredient.id),
    measures,
    amounts
  );

  res.redirect('/');
});
This will be the route we will be using for creating the recipe. Here we destructure all our body fields we will be sending from the frontend.
Next we insert all ingredients, remember we only store unique ingredients so after we have inserted any new ingredients we retrieve them from the database to get the Ids.
After that, we insert the recipe.
Next we connect the recipe with the correct ingredients, measures and amounts.
In the last step we redirect to the front page.
Adding file upload support
In the route for creating a new recipe, you could see this line upload.single('image'). This is a middleware to handle the uploading of files, now we only need to create it.
At the top of app.js import multer and path.
const multer = require('multer');
const path = require('path');
Add the following code under the port variable
const storage = multer.diskStorage({
  destination(req, file, cb) {
    cb(null, 'public/images');
  },
  filename(req, file, cb) {
    const uniqueSuffix = `${Date.now()}-${Math.round(Math.random() * 1e9)}`;
    cb(null, uniqueSuffix + path.extname(file.originalname));
  },
});

const upload = multer({ storage });
Here we are using the diskStorage from multer passing destination and filename.
The destination tells multer where to store the files.
The filename tells multer what to call the saved file. We generate a unique name and use path.extname(file.originalname) to get the extension from the uploaded file.
After that, we save the config in a variable called upload.
This middleware will be run every time this route receives a request. We also tell multer we only want to upload one image and it will be called image in the request.
Adding create recipe display form route
Add the following code in app.js
app.get('/add-recipe', async (req, res) => {
  const measurements = await queries.getAllMeasures();
  res.render('addRecipe', { measurements });
});
All we do here is to retrieve all measurements which will be used to fill the dropdown. After that, we render the view addRecipe to display the form to create a new recipe.
Create view to add recipe
In the views folder create a file called addRecipe.handlebars with the following content.
<div class="container space-top">
<div class="row">
<form method="POST" action="/recipes" enctype="multipart/form-data" class="col sm12 l10 offset-l1">
<div class="row">
<div class="input-field col s12">
<input required name="name" id="name" type="text" class="validate">
<label for="name">Name</label>
</div>
</div>
<div class="row">
<div class="input-field col s12">
<textarea name="description" id="textarea1" class="materialize-textarea"></textarea>
<label for="password">Description</label>
</div>
</div>
<div class="row">
<div class="input-field col s12">
<textarea id="textarea" name="instructions" class="materialize-textarea"></textarea>
<label for="textarea">Instructions</label>
</div>
</div>
<div id="inputs">
<div class="row">
<div class="input-field col s4">
<input required id="ingredient" name="ingredients[0]" type="text">
<label for="ingredient">Ingredient</label>
</div>
<div class="input-field col s4">
<select required name="measures[0]">
<option value=""></option>
</select>
<label>Measure</label>
</div>
<div class="input-field col s4">
<input required name="amounts[0]" id="amount" type="number">
<label for="amount">amount</label>
</div>
</div>
</div>
<div style="text-align: right;">
<a id="addBtn" class="btn-floating btn-large waves-effect waves-light"><i
class="material-icons">add</i></a>
<a id="removeBtn" class="btn-floating btn-large waves-effect waves-light red"><i
class="material-icons">delete</i></a>
</div>
<div class="row">
<div class="file-field input-field s12">
<div class="btn">
<span>File</span>
<input required type="file" name="image">
</div>
<div class="file-path-wrapper">
<input class="file-path validate" type="text" placeholder="Upload one or more files">
</div>
</div>
</div>
<div class="right-align">
<button class="btn waves-effect waves-light" type="submit" name="action">Submit
<i class="material-icons right">send</i>
</button>
</div>
</form>
</div>
</div>Here we are using styling from materialize and render a multipart form. Here are all the inputs we have with example data.
- name - Cheese pizza
- description - Best homemade cheese pizza with homemade dough
- Instructions - All the steps needed to create the recipe. Remember you can use spaces here to make it more readable. Like http://localhost:3000/recipes/1
- Ingredients - Tomato, Cheese
- mesaures - This is a list of all avaiable measures from the database, for example gram.
- amounts - 200
- image - some beautiful image on the dish
if you visit http://localhost:3000 now and click on Add recipe in the header. You should see a view that looks like this
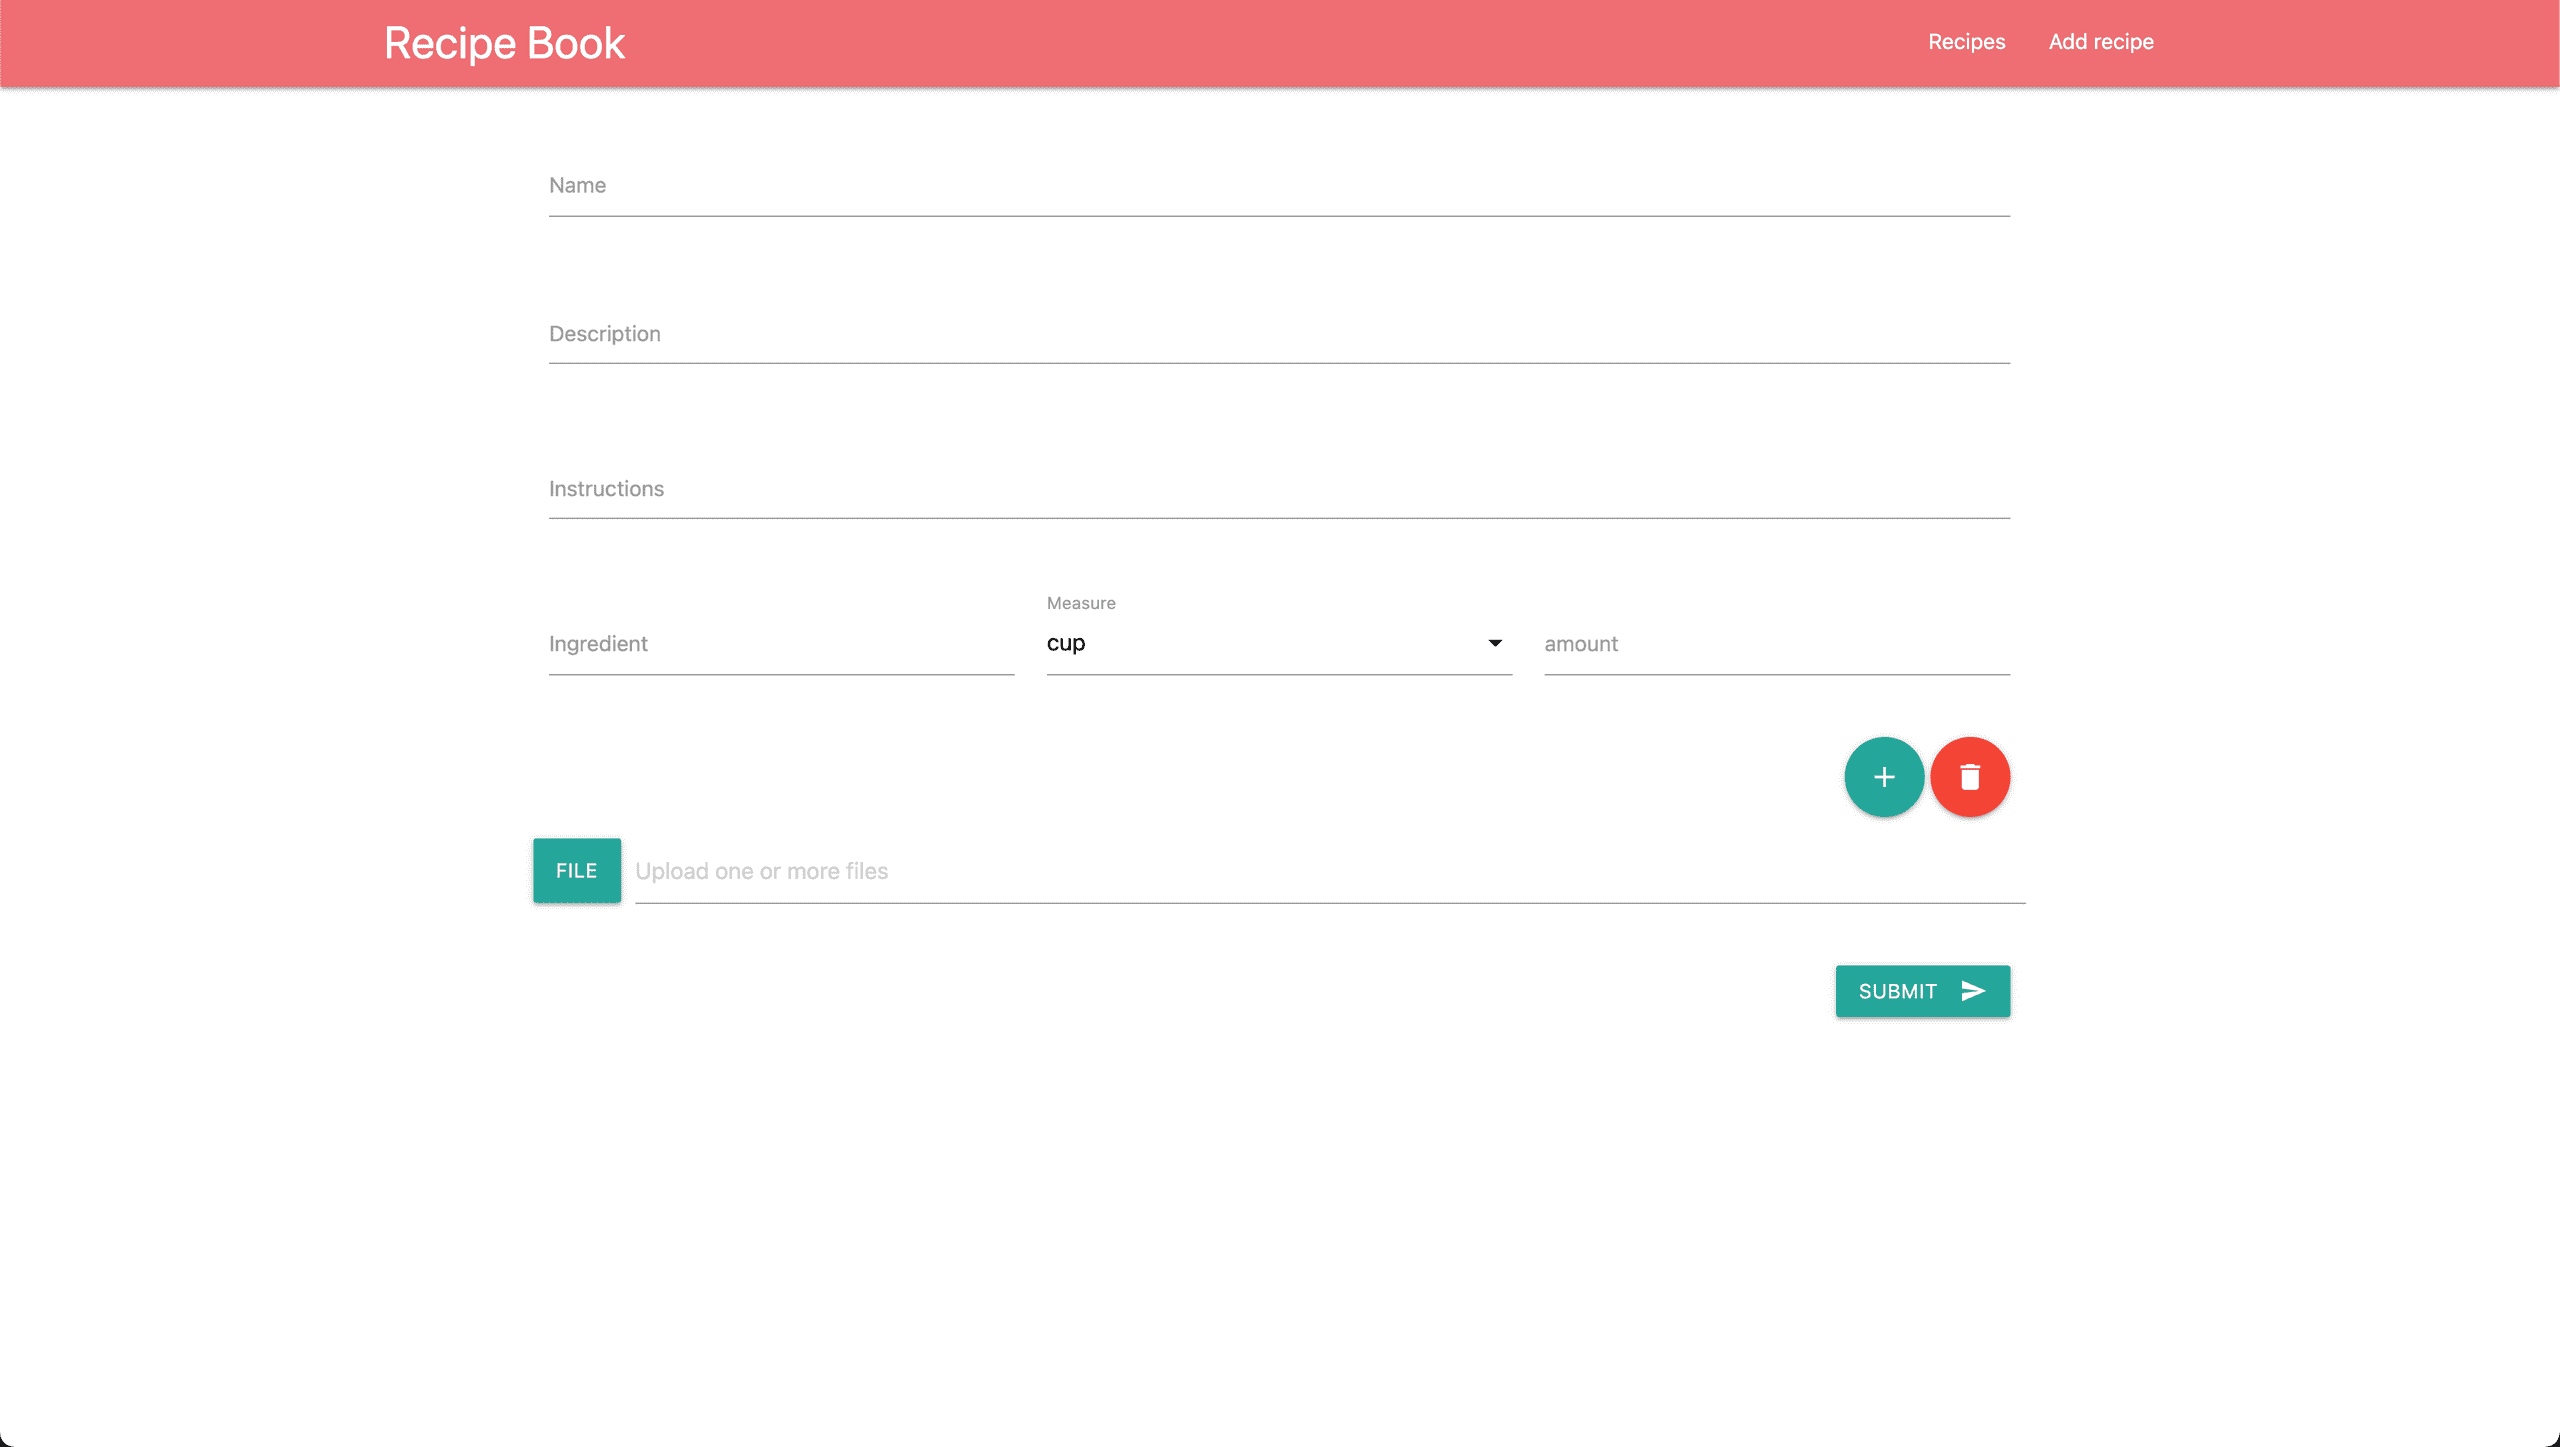
Under the ingredient row there is a add button and remove button to add mulitple ingredients. This is currently not working and will need some client javascript code.
The mesurement select is not showing upp and the resason for that is we need to add client javascript for that one too.
Add client side javaScript
In the public folder create a folder called js with a file called main.js inside it.
Add the following code
(() => {
  const addBtn = document.getElementById('addBtn');
  const removeBtn = document.getElementById('removeBtn');

  addBtn && addBtn.addEventListener('click', addIngredientRow);
  removeBtn && removeBtn.addEventListener('click', removeIngredientRow);
  M && document.addEventListener('DOMContentLoaded', loadSelects);
})();
Here we create an immediately invoked function to not pollute the global scope. After that, we save addBtn & removeBtn to variables.
To avoid errors we make sure the values are defined before adding event listeners.
  addBtn && addBtn.addEventListener('click', addIngredientRow);

  // could also be written as
  if(addBtn) {
    addBtn.addEventListener('click', addIngredientRow);
  }
You might be wondering what the variable M is. Materalize injects that to the global scope and we check if it's there in that case initialize select input.
After M && document.addEventListener('DOMContentLoaded', loadSelects); add the following functions
  function loadSelects() {
    const elems = document.querySelectorAll('select');
    M.FormSelect.init(elems, []);
  }

  function addIngredientRow() {
    const inputContainer = document.getElementById('inputs');
    inputContainer.insertAdjacentHTML('beforeend', createInputRow(inputContainer.childElementCount, getSelectOptions()));
    loadSelects();
  }

  function removeIngredientRow() {
    const inputContainer = document.getElementById('inputs');
    if (inputContainer.childElementCount === 1) return;
      inputContainer.removeChild(inputContainer.lastElementChild);
  }

  function getSelectOptions() {
    const select = document.querySelector('select');
    return [...select.options].map((option) => ({
      id: option.value,
      name: option.text,
    }));
  }

  function createInputRow(index, options) {
    return `<div class="row">
<div class="input-field col s4">
    <input required id="ingredient${index}" name="ingredients[${index}]" type="text">
    <label for="ingredient${index}">Ingredient</label>
</div>
<div class="input-field col s4">
    <select name="measures[${index}]" >
        ${options.map((o) => `<option value="${o.id}">${o.name}</option>`)}
    </select>
    <label>Measure</label>
</div>
<div class="input-field col s4">
    <input type="number" name="amounts[${index}]" id="amounts${index}">
    <label for="amounts${index}">amount</label>
</div>
</div> `;
}- loadSelects - Is used to initialize select from Materlize, read more here
- addIngredientRow - Adds a new row with ingredient, measure and amount. We get the container of all inputs and then we insert it after the last current row. We use createInputRow and pass it our selections options by using getSelectOptions. After that we have to tell materlize to initialize it.
- removeIngredientRow - Removes the last ingredient row. If there is only 1 input row we don't want to remove it and just return else we just remove the last row.
- getSelectOptions - This function will retrieve all select options. Because querySelector returns a node list we can not use the map method however we can convert it to an array by using the spread operator and we can then use the map.
- createInputRow - Returns the html needed to create an input row. All we need to do is to pass the index (row position) and our select options.
If you now open http://localhost:3000 and click Add Recipes you should be able to create new recipes.
Conclusion
In this part, we have completed the functionality to create a new recipe. In the next part we will add the functionality to edit and delete a recipe.