Build a Recipe App With Node.js & PostgreSQL - View Recipe Part 3
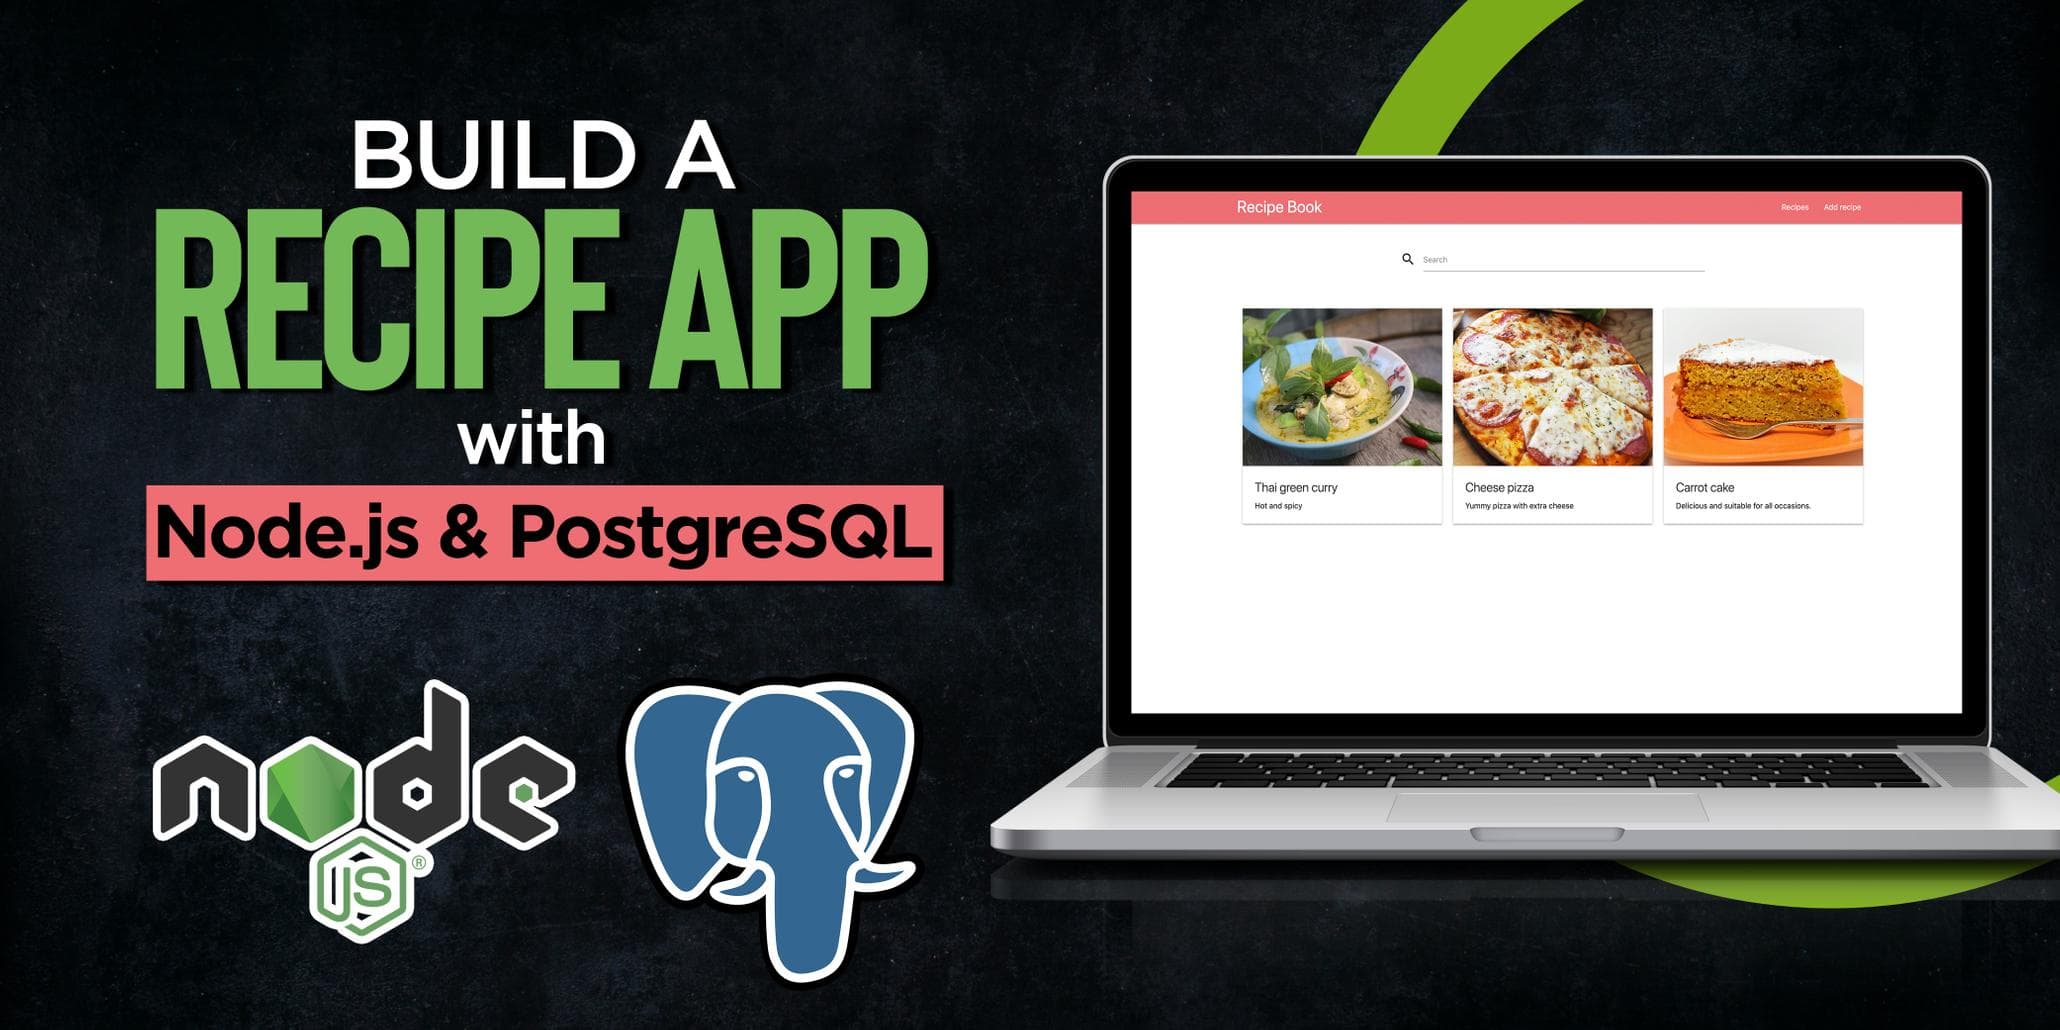
This is the third part of the Build a Recipe App With Node.js & PostgreSQL series. In this part we build a view to display a single recipe with all instructions and ingredients.
Parts
- Part 1 - Introduction & setup
- Part 2 - List & search recipes
- Part 3 - View recipe
- Part 4 - Create recipe
- Part 5 - Edit & delete recipe
Creating recipe query with relationships
Open up queries.js, add a method called getOneRecipe with the following code and export it at the end.
async function getOneRecipe(id) {
  const query = await db.query({
    text: `select recipe.*,
      recipe_ingredient.amount,
      measure.name AS measure_name,
      measure.id AS measure_id,
      ingredient.name AS ingredient
      from recipe
                LEFT JOIN recipe_ingredient on recipe.id = recipe_ingredient.recipe_id
                LEFT JOIN ingredient on ingredient.id = recipe_ingredient.ingredient_id
                LEFT JOIN measure on measure.id = measure_id
                where recipe.id = $1;`,
    values: [id],
  });

  return mapRowsToNestedData(query.rows);
}

module.exports = {
  getAllRecipes,
  getOneRecipe
};
Here we want to find a recipe by id, we also want to make sure we get all ingredients with measurements and amounts. To do this we have to do a join of our tables. We are using a left join because even if a recipe is missing ingredients or measurements we still want to be able to get the recipe.
We want every recipe to have an array of the diffrent ingredients but the problem is node-postgres return every ingredient as a seperate object.

To fix this we will create a helper function to map over the data.
Before module.exports create a function called mapRowsToNestedData with the following content.
function mapRowsToNestedData(rows) {
  const { id, name, description, image, instructions } = rows[0];
  const recipe = { id, name, description, image, instructions };

  rows.forEach((row) => {
    if (!recipe.ingredients) {
      recipe.ingredients = [];
    }

    recipe.ingredients.push({
      measure: {
        id: row.measure_id,
        name: row.measure_name,
      },
      amount: row.amount,
      ingredient: row.ingredient,
    });
  });

  return recipe;
}
Creating a new route & sending data to client
Add the following code to app.js below the other route.
app.get('/recipes/:id', async (req, res) => {
  const recipe = await queries.getOneRecipe(req.params.id);
  res.render('recipe', { recipe });
});
Here we use the getOneRecipe method and we pass the render method a view called recipe with the data.
Add a recipe handlebars view
In the views folder create a new view called recipe.handlebars
<div class="container space-top">
<div class="row">
<div class="col sm12 l10 offset-l1">
<div class="card">
<div class="card-image">
<img src="/images/">
<h1 class="card-title"></h1>
</div>
<div class="card-content">
<span class="card-title"></span>
<div class="description-container">
<form method="POST" action="/recipes/?_method=DELETE">
<a style="color: white;" class="btn waves-effect waves-light"
href="/recipes//edit" name="action">Edit
<i class="material-icons right">edit</i>
</a>
<button class="btn waves-effect waves-light red" type="submit" name="action">Delete
<i class="material-icons right">delete</i>
</button>
</form>
<p> </p>
</div>
<h5>Ingredients</h5>
<ul>
<li style="display: flex; ">
</li>
</ul>
<hr />
<h5>Instructions</h5>
<ul>
<div class="instructions">
</div>
</ul>
</div>
</div>
</div>
</div>
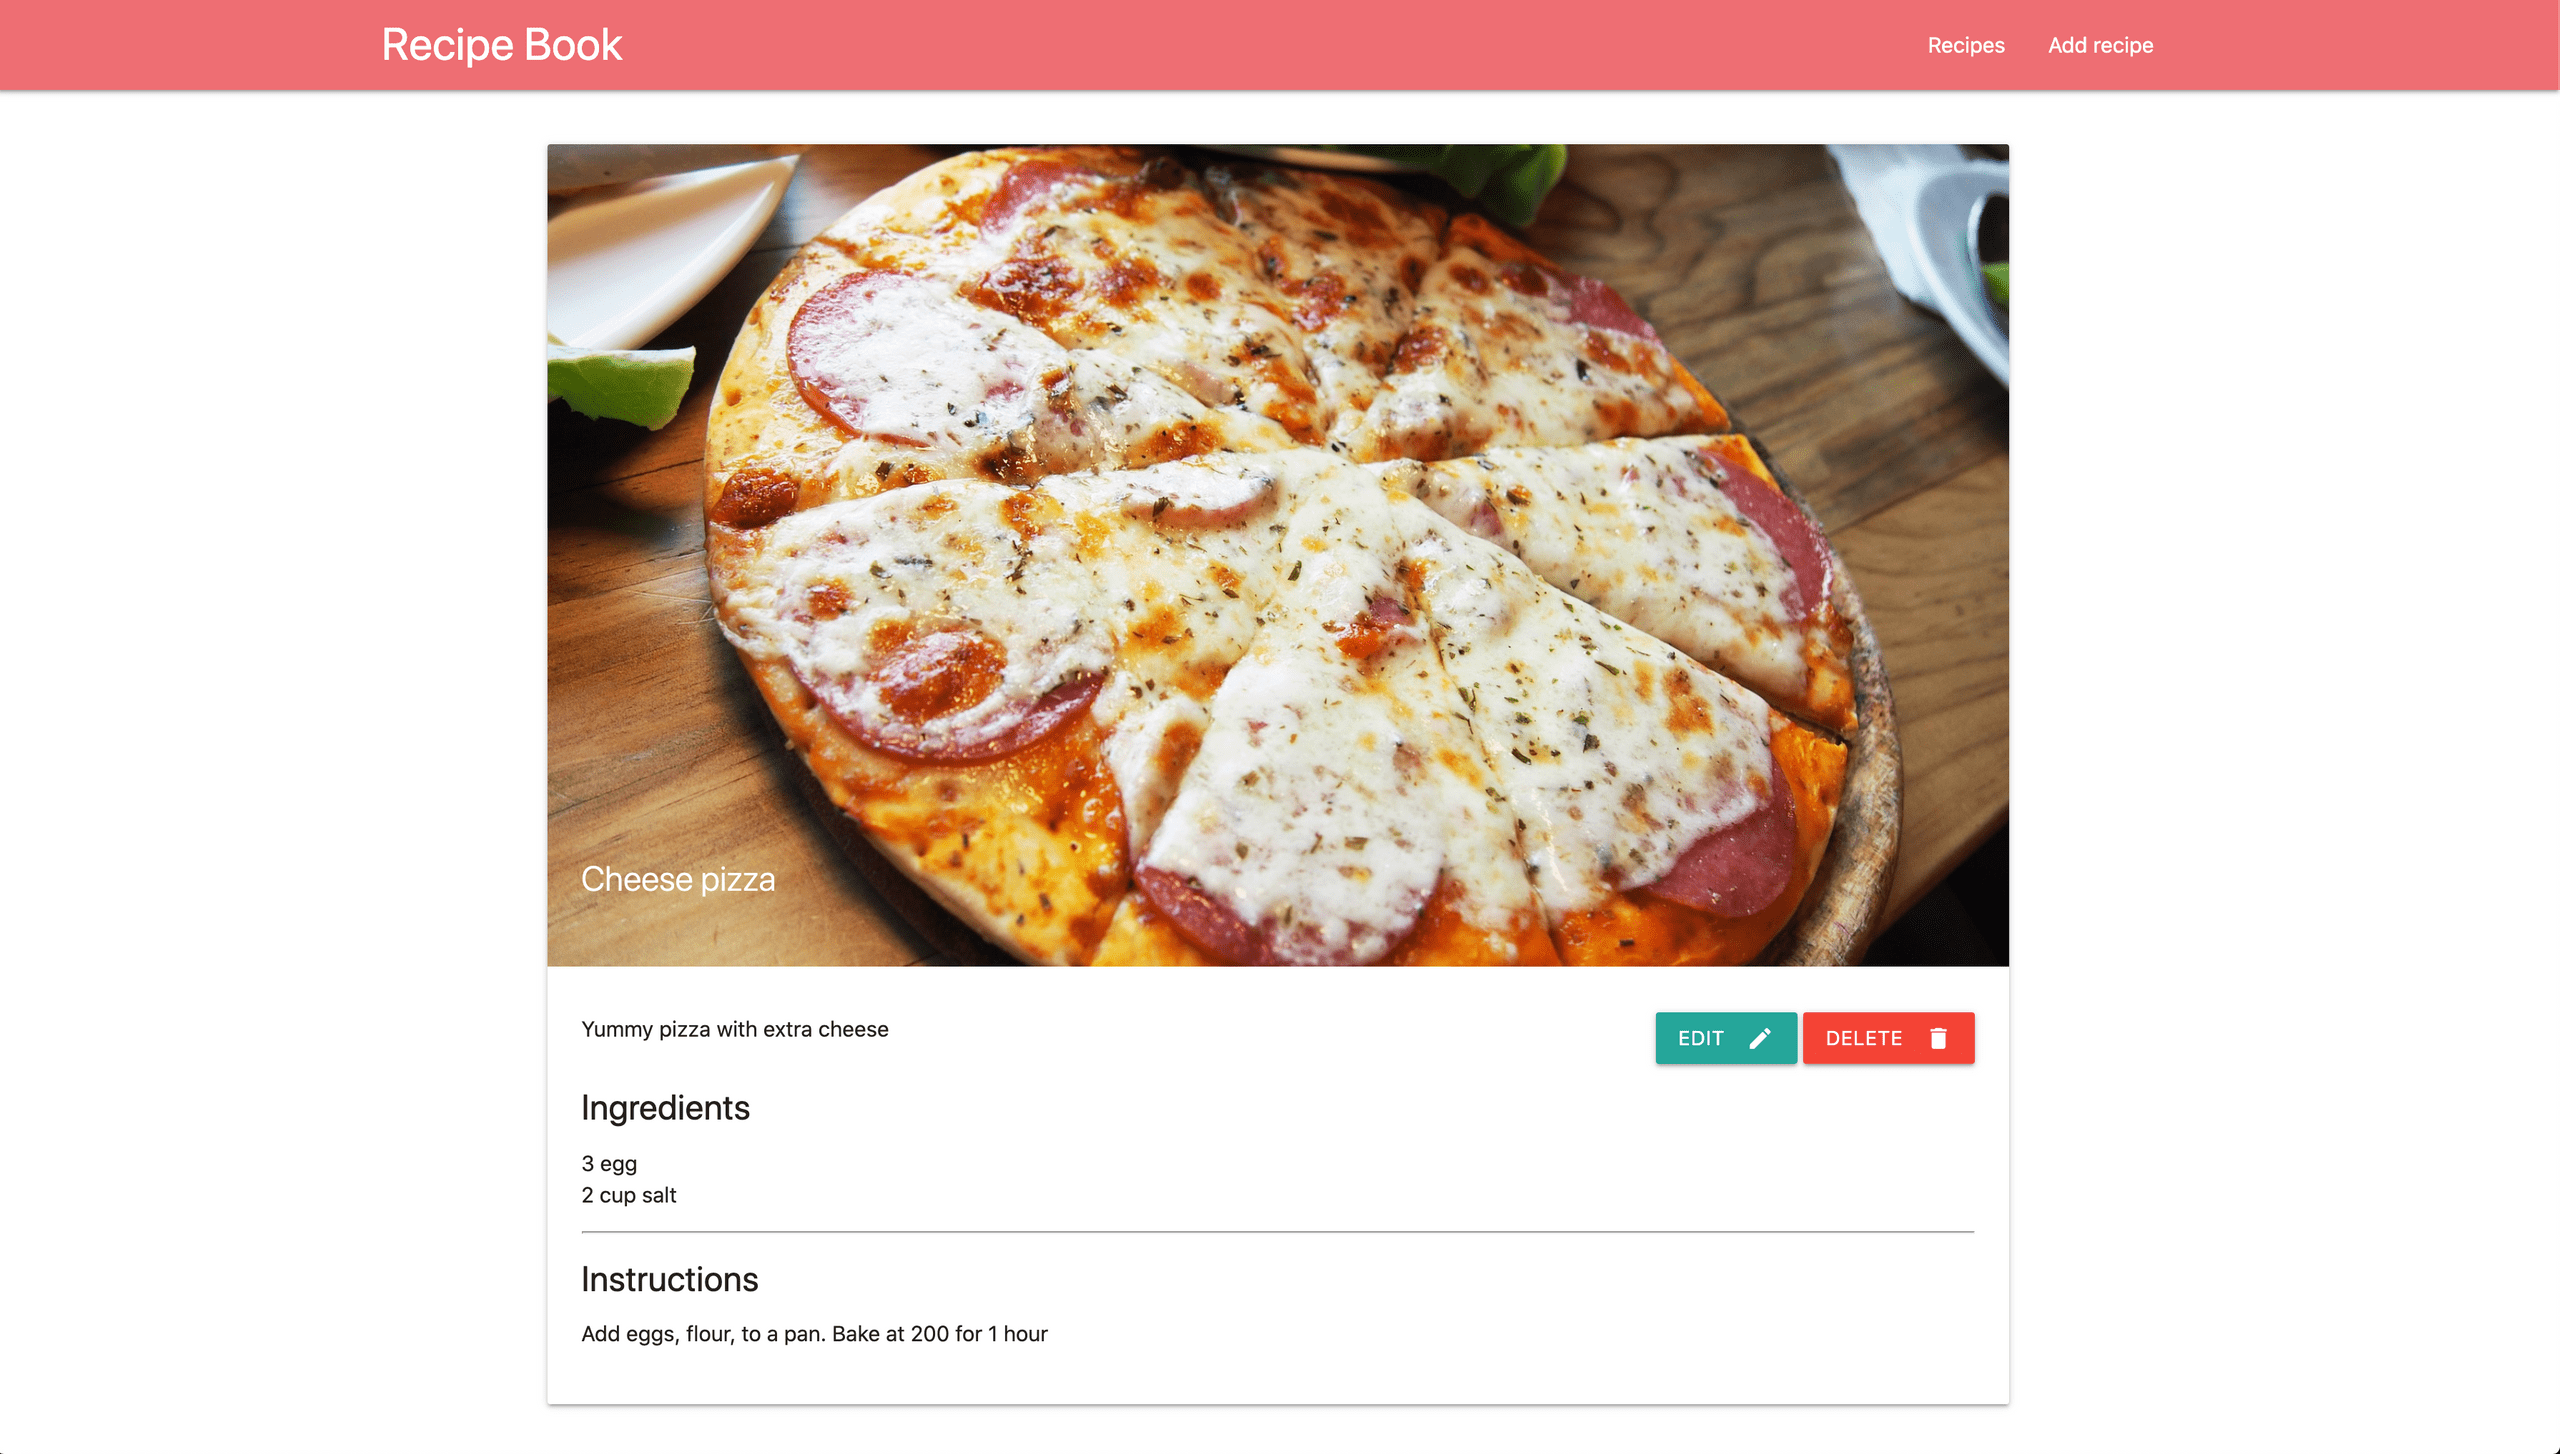
</div>Here we display all the data about the recipe and we also added two buttons. One to delete the recipe and one to edit. We will implement them later.
You should have something that look like this
Conclusion
In this part, we saw how we can work with joins and we now have all the views for displaying recipes. In the next part, we will take a look at how we can add a recipe.